Showing posts with label Patriotic. Show all posts

6.27.2011

All-American Eagle Shirt

I am a sucker for artwork made from kids hands and feet.  I just love it!  This shirt is made with both so I had to give it a try.  I have seen a few versions, but in the end we made up our own.

You Will Need:
A pre-washed shirt
Fabric paint (White, Brown, Black, and Yellow)
Cardboard, we used an old cereal box
Paint brush or sponge
Styrofoam plates
Wipes or wet paper towels

Start by placing cardboard in the shirt to protect the back from bleeding paint.  We cut a cereal box to fit the shirt. 
Add brown and white paint in a plate.  Sponge the brown paint onto your child's foot and white paint onto the toes.  Place the foot on the shirt with the toes toward the bottom.  This is the body and tail feathers of the eagle.
Next - paint the child's hand and fingers, leaving out the thumb and place on the shirt with the palms touching the "body".  The palm of the hand makes the wings and the fingers are feathers.
Then, have the child make a fist.  Paint the pinkie side of the fist with white paint and place on the shirt to form a neck and head. 

You then need to draw on a beak and add an eye.  All that is left is to let the shirt dry according to the directions on your paint.  Perfect for any Patriotic holiday!

6.25.2011

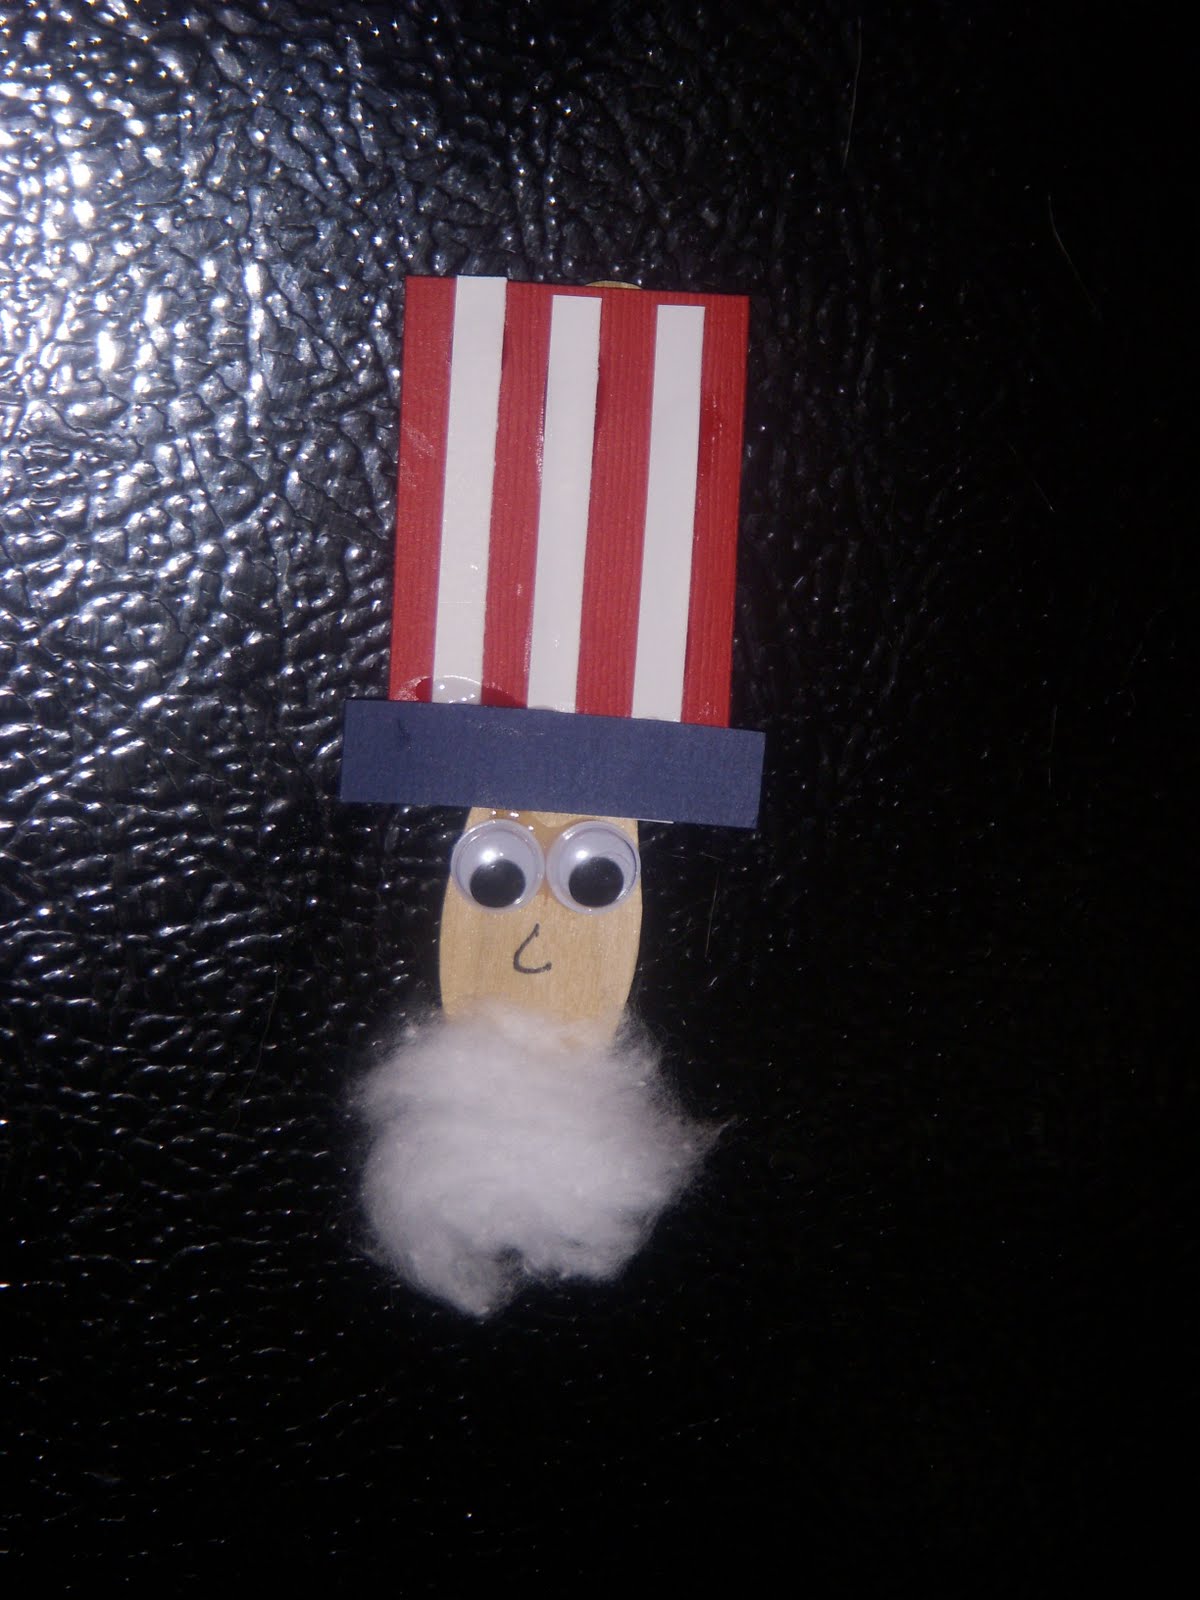
Uncle Sam Pin


For each Uncle Same pin you will need:
A craft spoon
Googly eyes
A cotton ball
A top hat - you can make it from red, white, and blue paper pieces OR cut out a hat from white paper and have the kids color their own
Glue
Scissors
Magnet or pin for attaching to clothing
Black pen


First you make your hat.  We did paper pieces.  Our red was 2 x 1 1/2 in.  Our blue was 3/4 x 2 in.  Our white stripes were 2 x 1/4 in.  We then glued them together to make a hat.  Attach the hat to the handle of the wooden spoon. 
Then glue on the eyes and with a black pen, draw on a nose.  Take some cotton off your cotton ball to make a beard.  Glue on the beard. 
When dry, attach you magnet to the back of the pin.  You can use a pin if you wish.  We did two magnets since they do not damage clothing or children.  And after the holiday Uncle Sam can go on the fridge.


No-Spark Sparklers

We are having a terrible time with wildfires at the moment and ALL fireworks are banned in town, except for the Flagler Beach show which is over the water.  That doesn't mean that you can't have sparkers!  These are even a great option for children that are afraid of fire or too small to have it.
You Will Need:
Small wooden dowels about 14 inches long
Wired star garland in solid or multiple colors
Clear packing tape
Red or blue cardstock cut to 2 in by 1 1/2 in
Glue or glue dots
Scissors

For each sparkler that you make, cut wire garland into 10 pieces.  Make 5 each of 6 in long and 8 in long.
Trim off the stars from the bottom of each piece about inch up.  Line the pieces up on the cardstock and tape down.

Then add glue dots to the dowel at the top where the paper will attach.  Attach the edge to the dowel and roll the remaining paper and wire around the dowel.  Secure the end with more glue or glue dots. 
Once secure, arrange the  wire garland to look like a sparkler.  Enjoy!

Rocket Poppers


You Will Need:
White tissue paper
String or ribbon
Scissors or paper trimmer
Hot glue or glue dots
8 1/2 x 11 Patterned cardstock
8 1/2 x 11 Solid cardstock
Candy or small toys

Cut your patterned paper in half to make it 4 1/4 x 11.  Also cut your white tissue paper to this size.  Turn the patterned paper pattern side down and glue the tissue paper on the bottom.  About inch over lapping. 

Next, roll the paper and tissue into a tube, about the size of a toilet paper roll and secure with hot glue or glue dots.  Cinch the tissue at the bottom and tie with ribbon or string. 

Now for the fun part - fill the tube with candy or small toys for your guests or friends. 
Take the solid colored cardstock and draw an 8 inch circle.  Cut it out and then in half to make a fan like shape.  Roll this piece into a cone.  Use glue dots or hot glue to attach the cone to the top of the rocket.